


設定 OneSignal - Chrome Push Notification
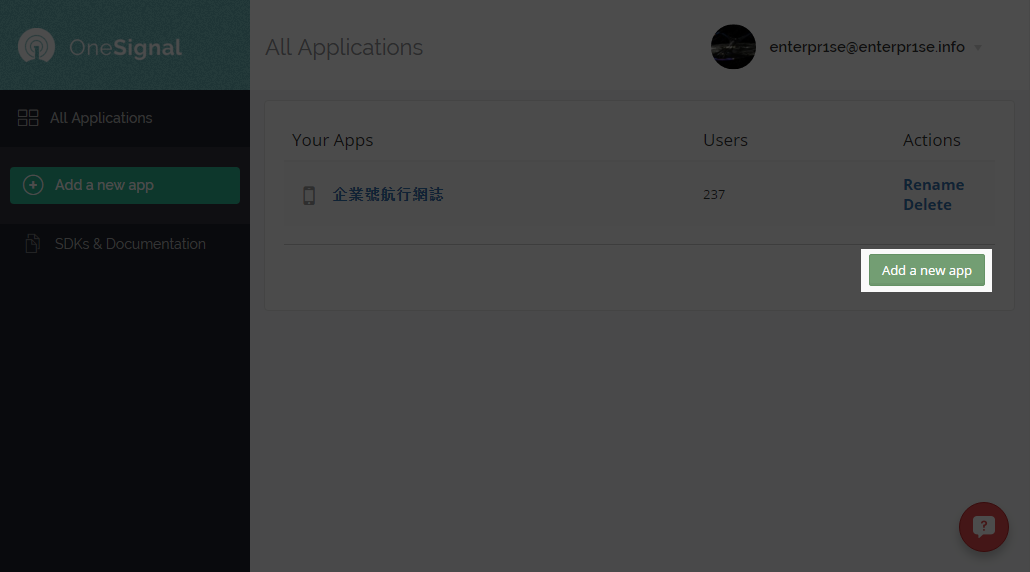
使用 OneSignal 這個 plugin,當然需要到它的網站開設戶口。
開設後就可以到 Dashboard 開設一個新 app,並輸入名稱。

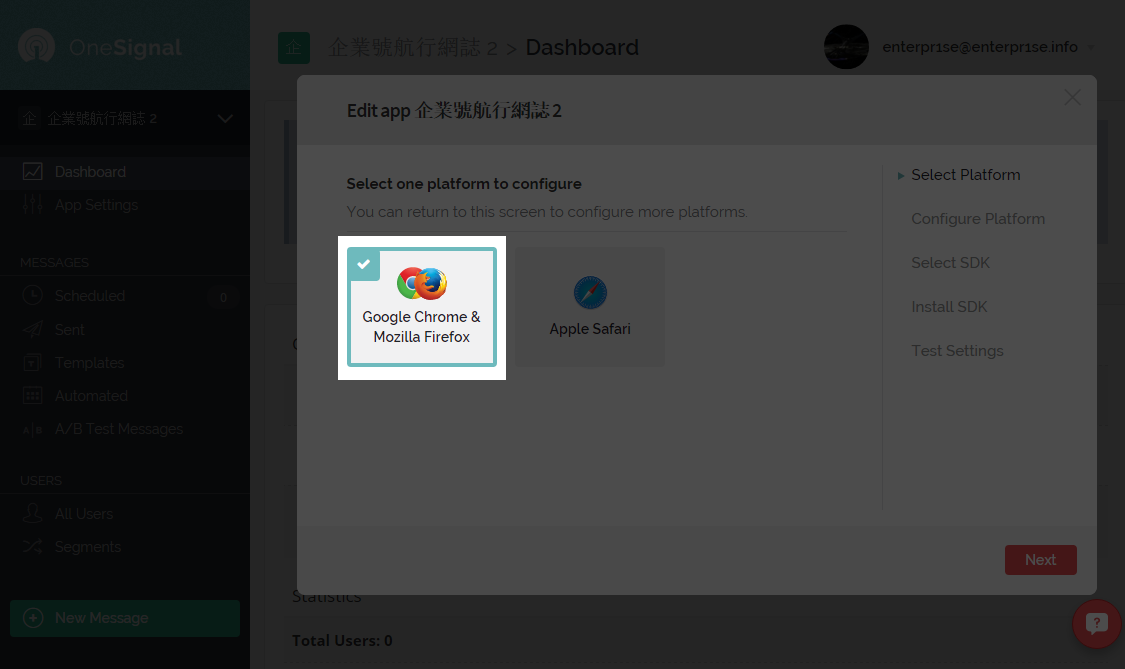
選擇 Web Push,再選 Chrome / Firefox

之後填上你的網站 URL、Google API key 和預設顯示的圖示。
有幾點要留意,並不需要網址最後的 “/”,例如本網站填 https://enterpr1se.info 這樣就可以了。
如果你的網站並非在 root 的位置,例如 https://enterpr1se.info/blog ,亦只需要填 https://enterpr1se.info ,並不需要後面的 sub-folder.
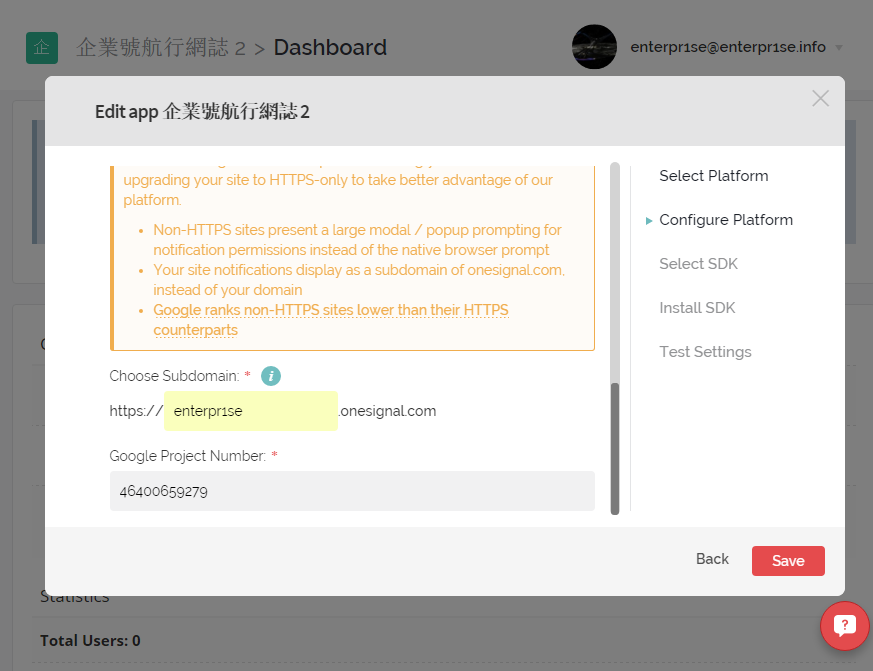
OneSignal 支援 Chrome / Firefox 的非 HTTPS 推送,如果網站不是 HTTPS 的話,可以 tick “My site is not fully HTTPS”
建立一個 sub-domain,並且需要 Google Project 的 number.
當然網站本身已經是 HTTPS 的就,就不需要理會,直接 click Save 就可以了。

按下 Save 後就可以了,後面的 Select SDK, Install SDK 等等都不用理會,直接按上面的交叉關閉這個視窗。
