Android 設定(進階篇)
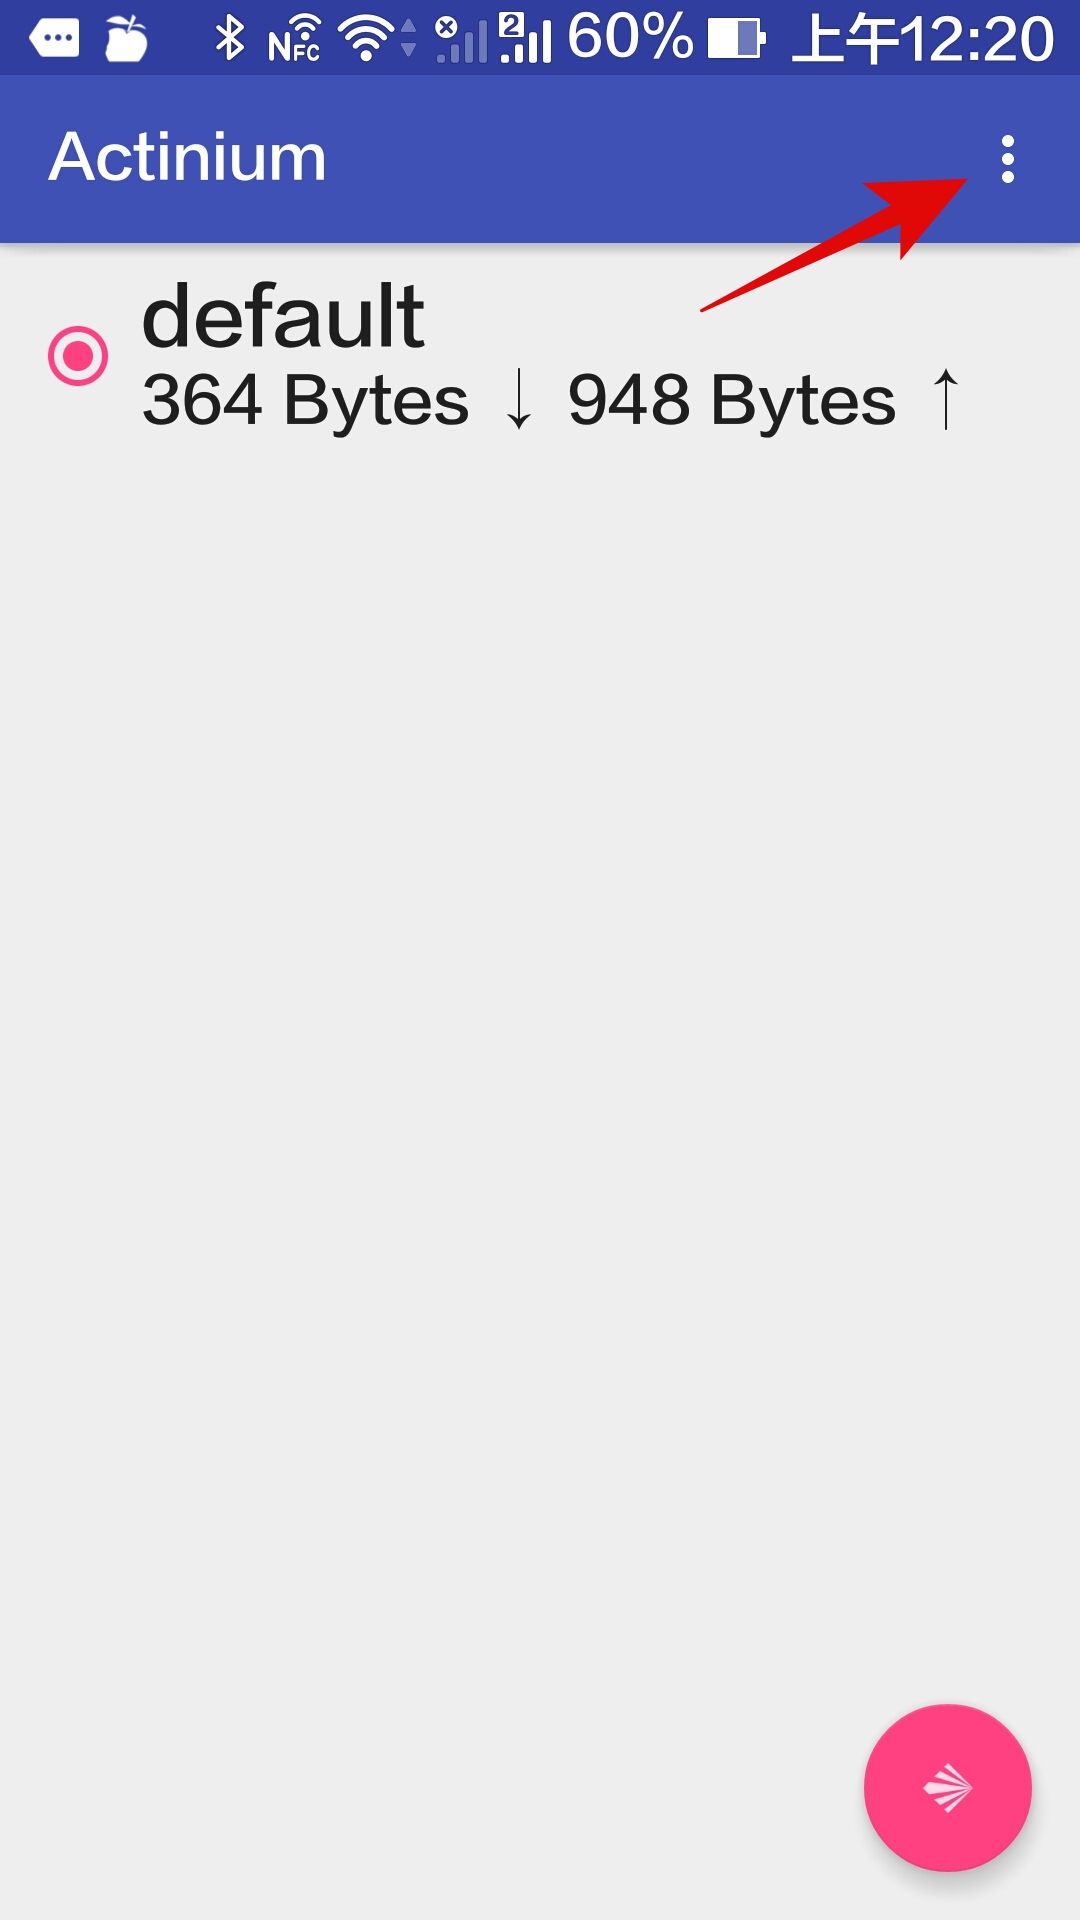
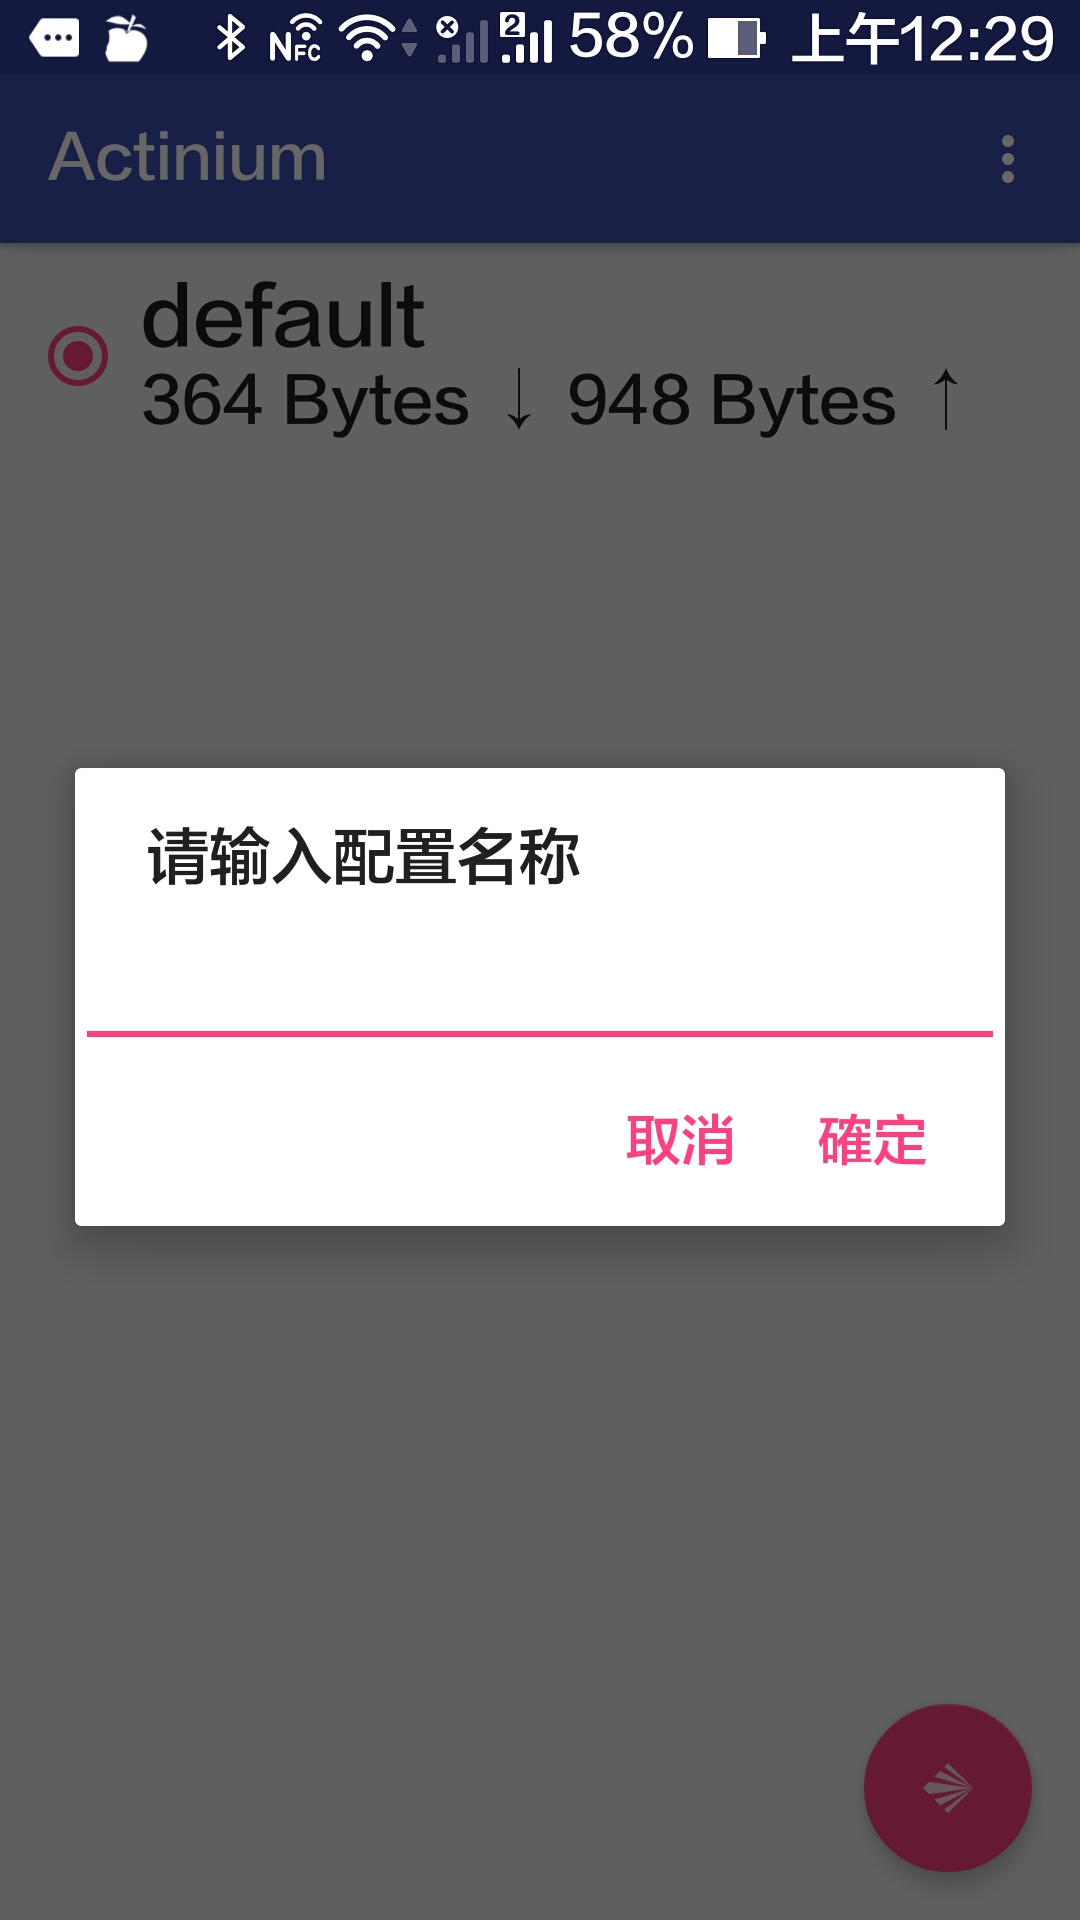
今次 Android V2ray 測試時使用一部運行 Android 5.0 Asus Zenfone 2,不知是否因為使用 Intel x86 CPU 問題抑或是 Android 版本太舊,測試一直使用的 V2rayNG 出現不能連接的情況,無可奈何的情況下,使用另一個 V2ray 官方推介的 client – Actinium.
V2rayNG 雖然介面簡單最接近 Shadowrocket,但是同樣設定下 V2rayNG 不能上網,即時裝設定簡化,只運行 TLS,不作偽裝,都沒有反應。
因為不知是否手機問題,現在附上「理論上」的設定值,各位可以跟著安裝試試,看看會否出問題。
再次提醒,使用自己的 domain 和 UUID.
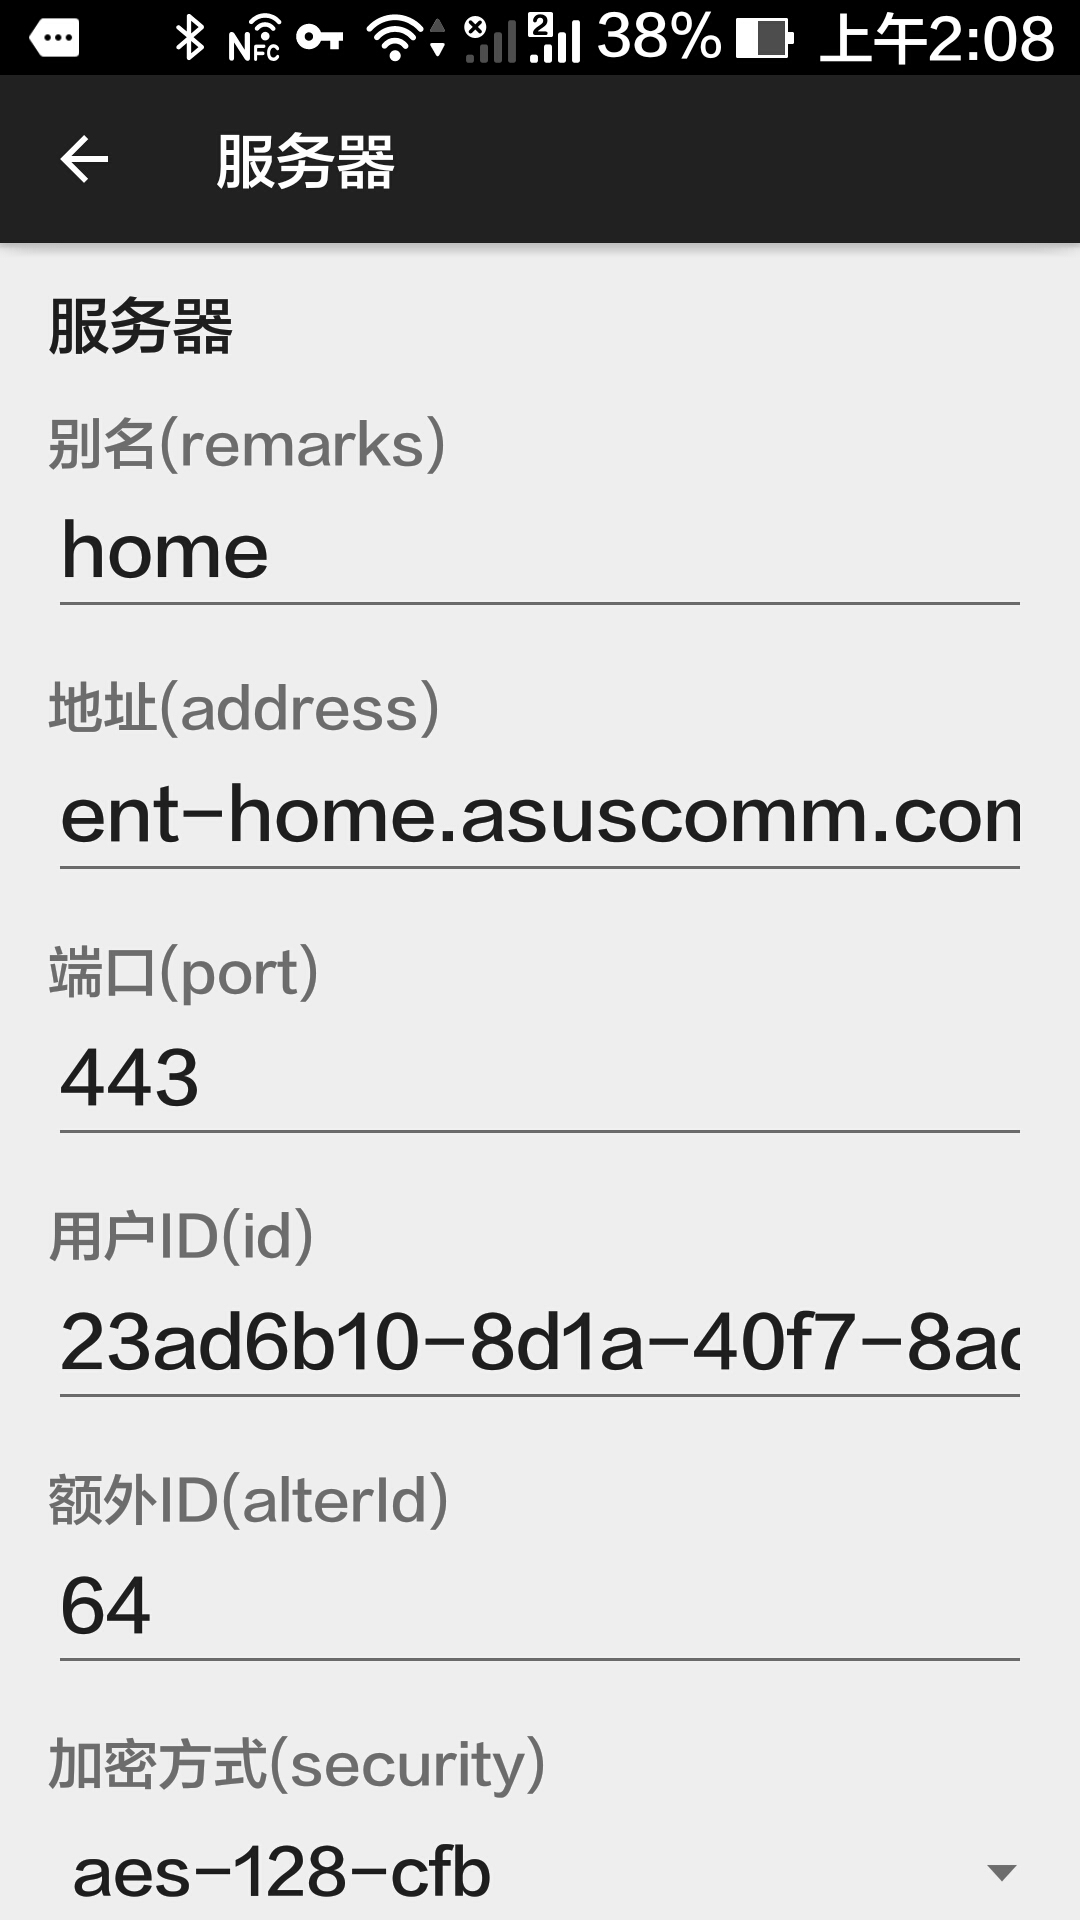
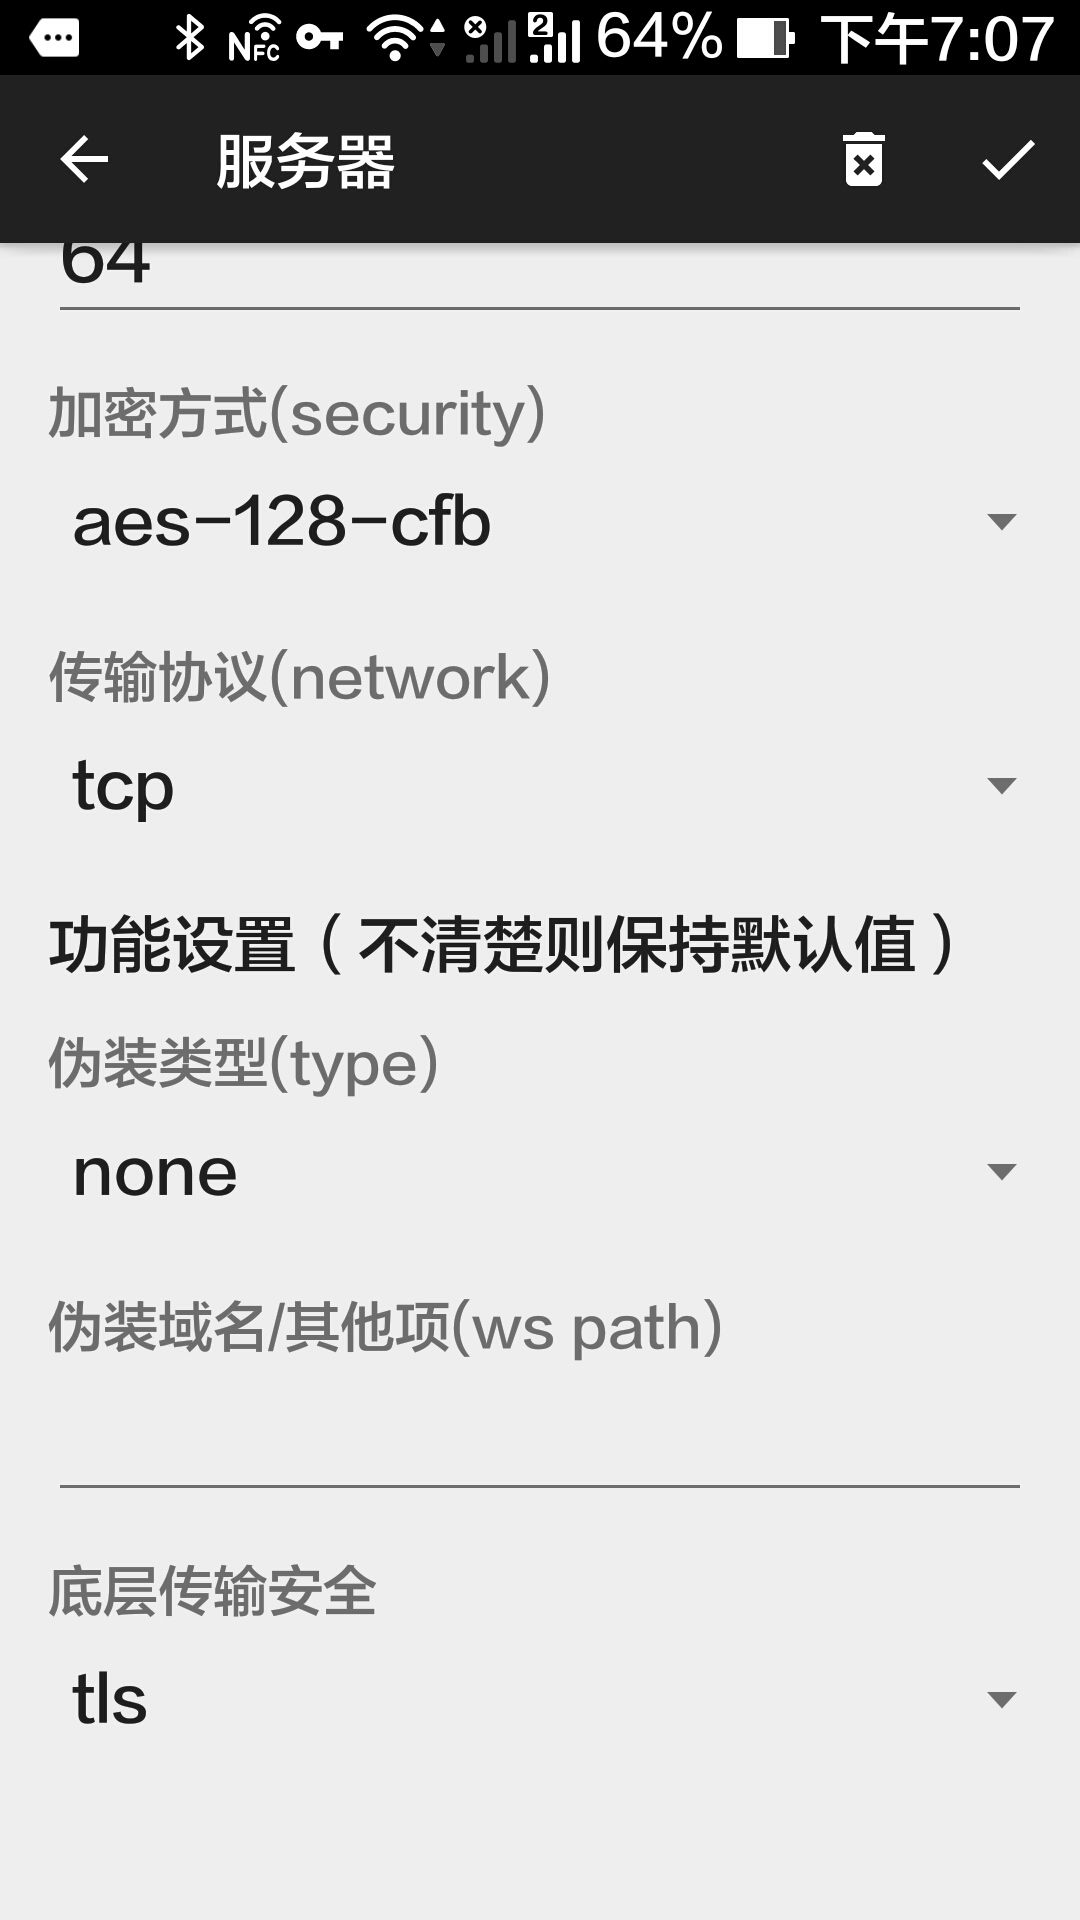
設定方面,除了基本的 domain, port, id 之外,傳送協議需要使用 tcp,還有記得選 tls.
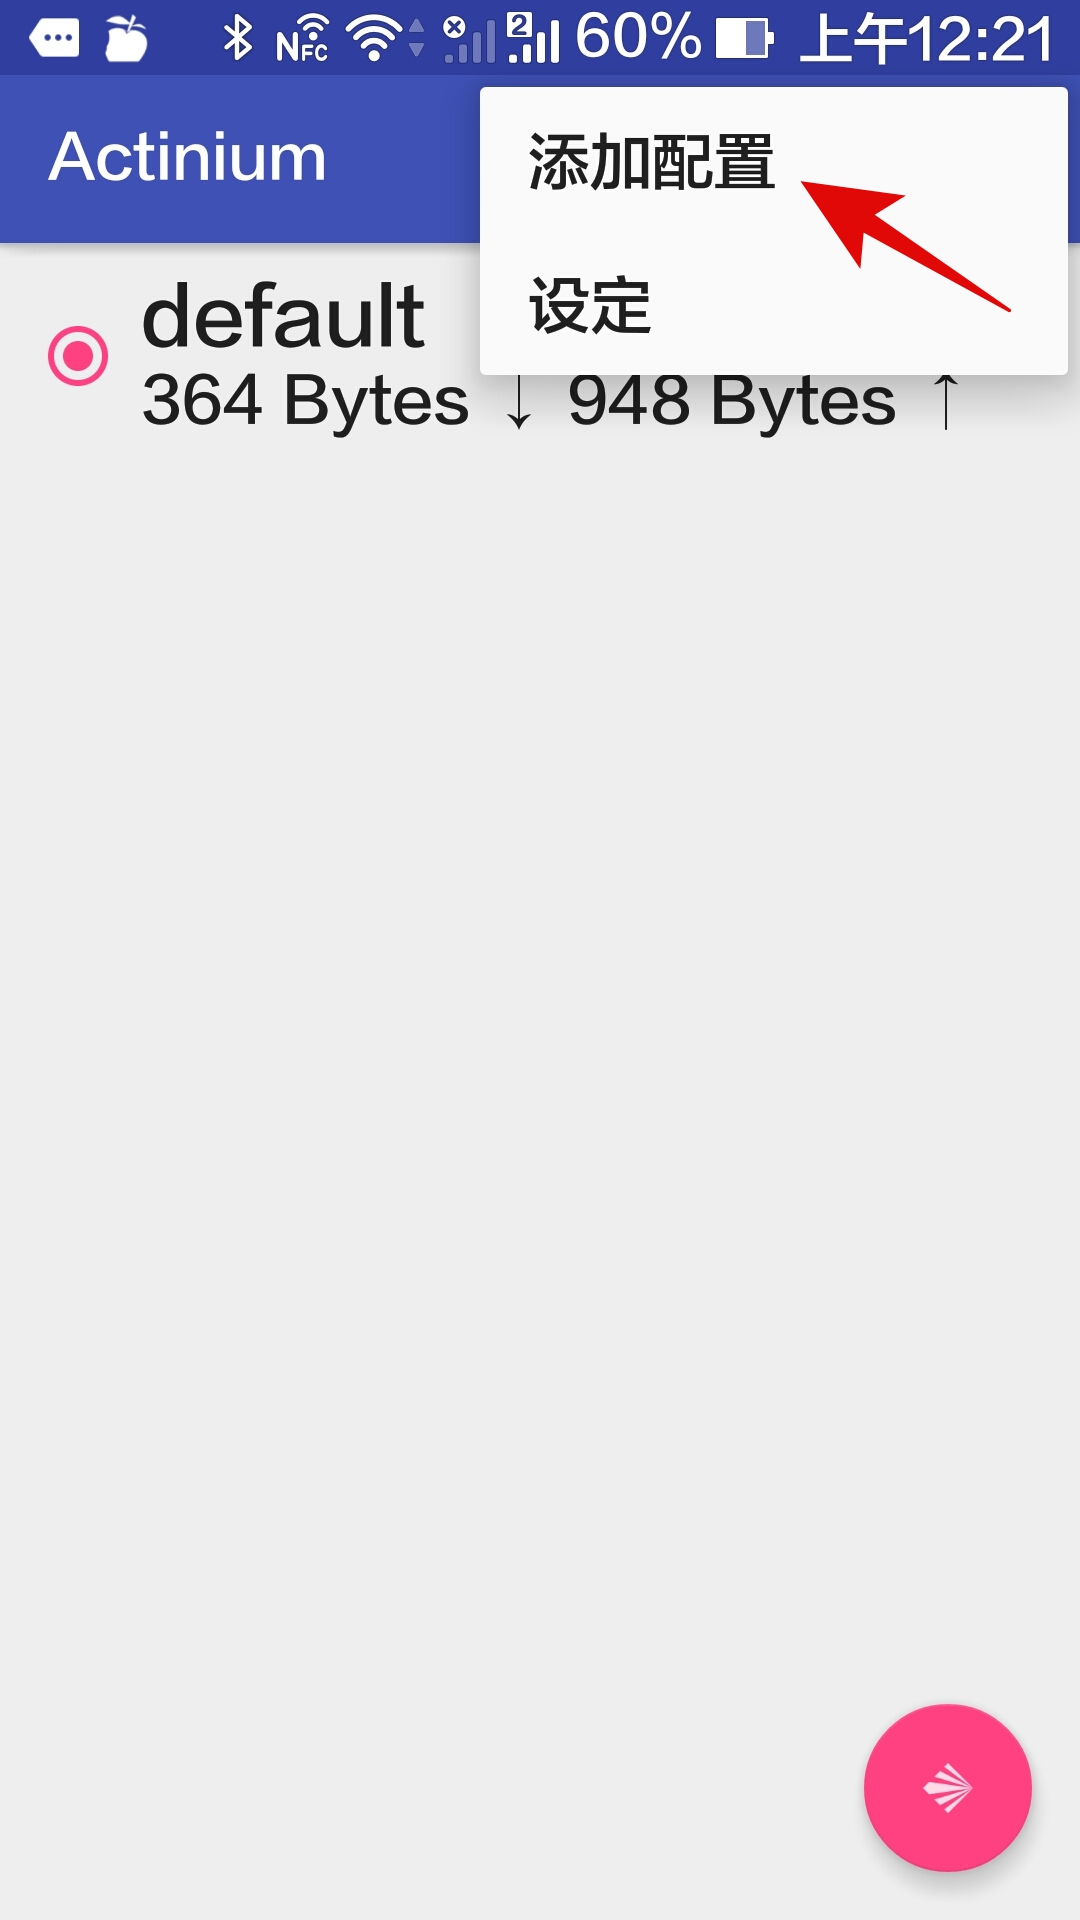
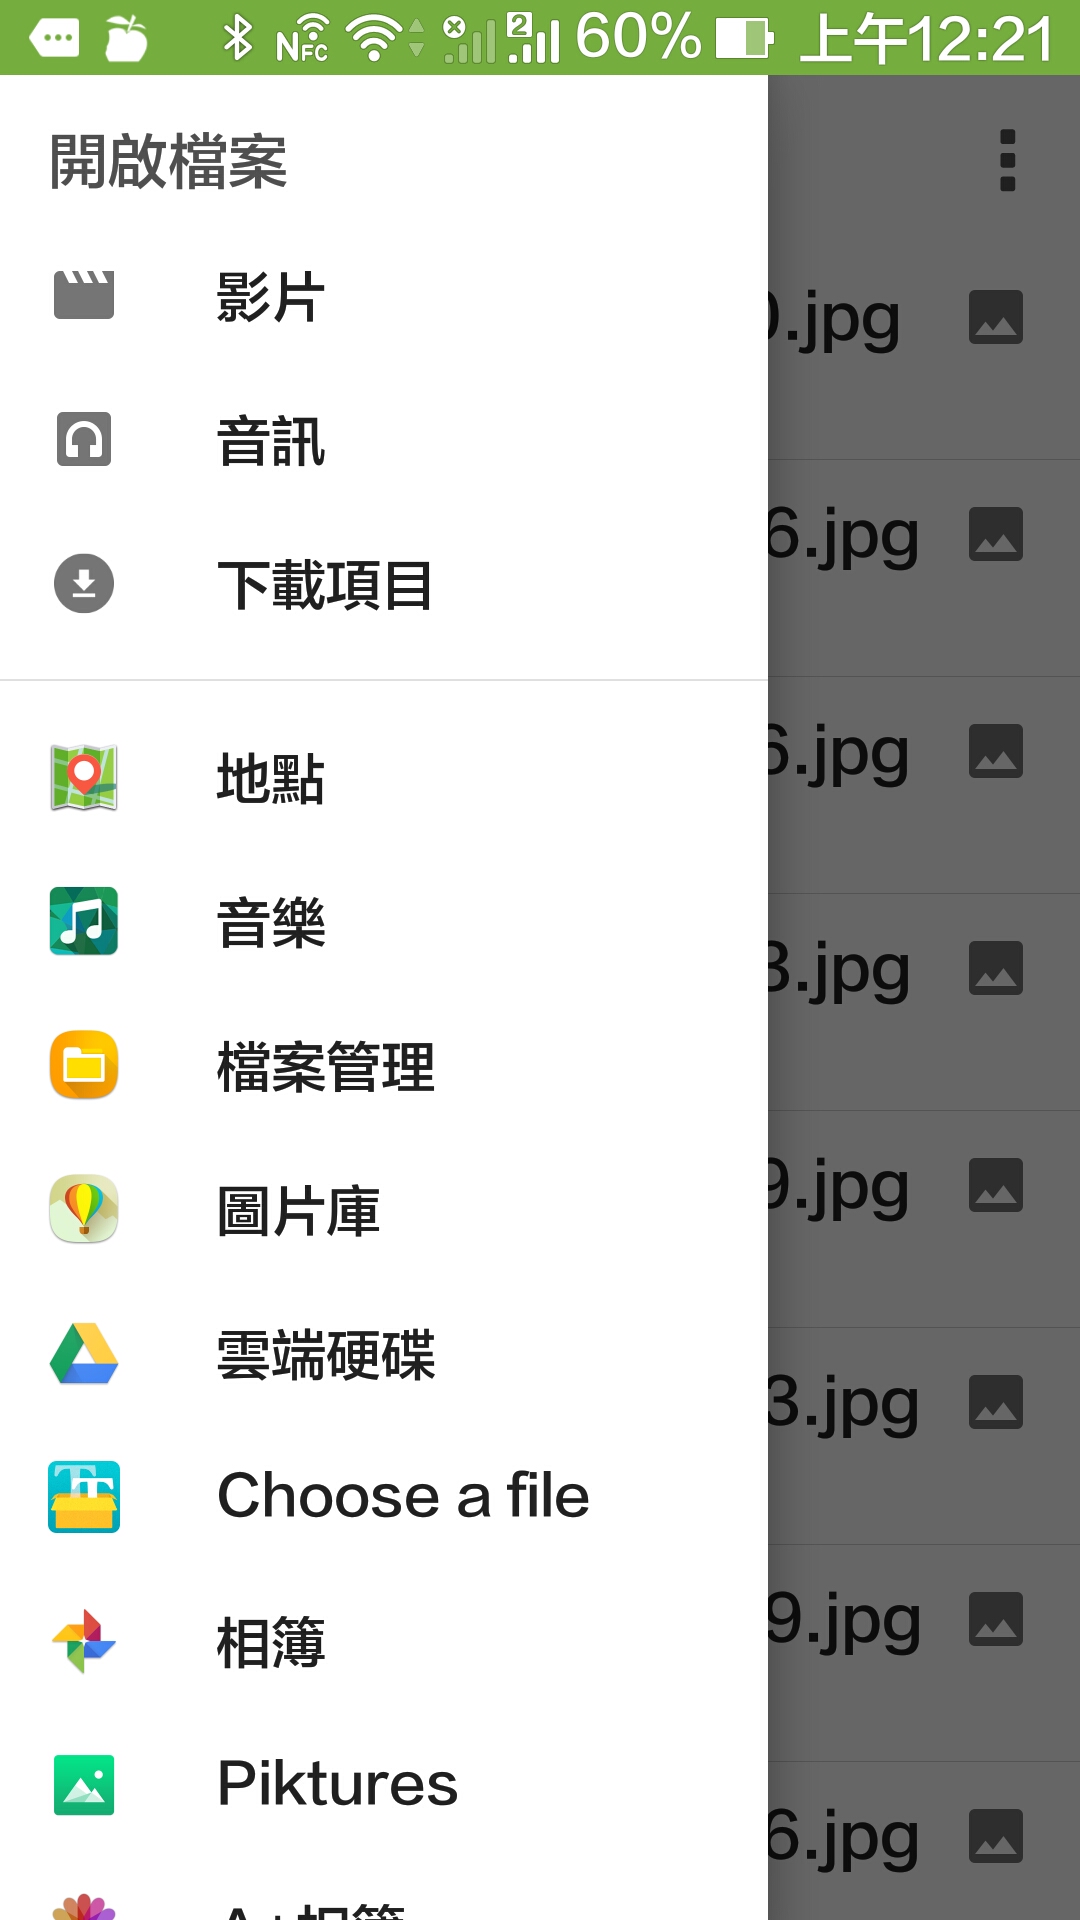
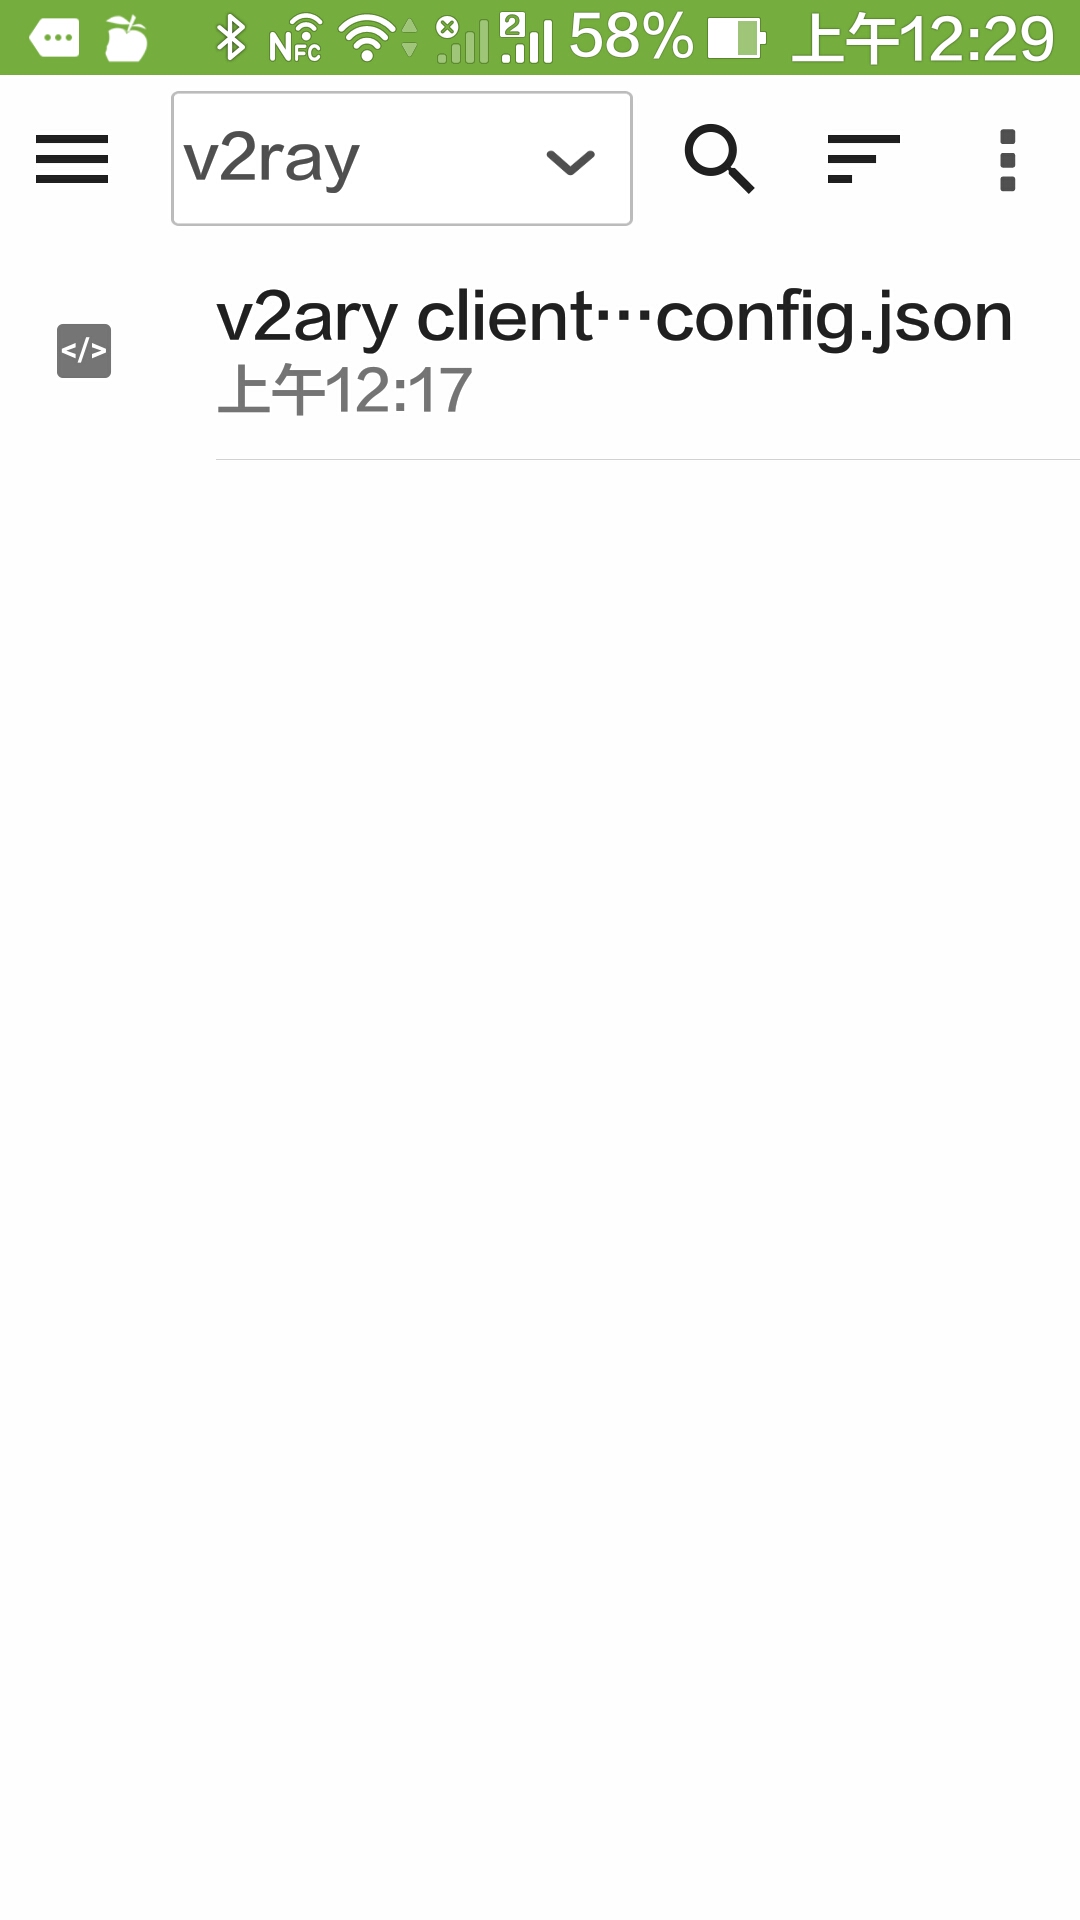
Actinium 需要首先將設定檔上載到 SD Card, Google Drive 等位置,之後選擇 config 檔。
大家可以將下面設定存起來上載到 Google Drive,就可以使用了。
(建議大家設定檔以 .json 結尾,另外又要提大家,記得改 domain 和 id)
{
  "log": {
    "loglevel": "warning"
  },
  "inbound": {
    "port": 1080,
    "listen": "127.0.0.1",
    "protocol": "socks",
    "settings": {
      "auth": "noauth",
      "udp": false,
      "ip": "127.0.0.1"
    }
  },
  "outbound": {
    "protocol": "vmess",
    "settings": {
      "vnext": [
        {
          "address": "ent-home.asuscomm.com",
          "port": 443,
          "users": [
            {
              "id": "23ad6b10-8d1a-40f7-8ad0-e3e35cd38297",
              "alterId": 64,
              "security": "auto"
            }
          ]
        }
      ]
    },
    "mux": {
      "enabled": true
    },
    "streamSettings": {
      "network": "tcp",
      "security": "tls",
      "tlsSettings": {
        "serverName": "ent-home.asuscomm.com",
        "allowInsecure": true
      }
    }
  },
  "outboundDetour": [
    {
      "protocol": "freedom",
      "settings": {},
      "tag": "direct"
    }
  ],
  "dns": {
    "servers": [
      "8.8.8.8",
      "8.8.4.4",
      "localhost"
    ]
  },
  "routing": {
    "strategy": "rules",
    "settings": {
      "domainStrategy": "IPIfNonMatch",
      "rules": [
        {
          "type": "field",
          "port": "1-52",
          "outboundTag": "direct"
        },
        {
          "type": "field",
          "port": "54-79",
          "outboundTag": "direct"
        },
        {
          "type": "field",
          "port": "81-442",
          "outboundTag": "direct"
        },
        {
          "type": "field",
          "port": "444-65535",
          "outboundTag": "direct"
        },
        {
          "type": "field",
          "domain": ["geosite:cn"],
          "outboundTag": "direct"
        },
        {
          "type": "field",
          "ip": [
            "0.0.0.0/8",
            "10.0.0.0/8",
            "100.64.0.0/10",
            "127.0.0.0/8",
            "169.254.0.0/16",
            "172.16.0.0/12",
            "192.0.0.0/24",
            "192.0.2.0/24",
            "192.168.0.0/16",
            "198.18.0.0/15",
            "198.51.100.0/24",
            "203.0.113.0/24",
            "::1/128",
            "fc00::/7",
            "fe80::/10",
            "geoip:cn"
          ],
          "outboundTag": "direct"
        }
      ]
    }
  }
}